Transplanting Leaf Vegetables
In the past few weeks I have been transplanting vegetable seedlings from my greenhouse to my garden. I began with planting Arugula and Swiss-Chard but have not been alone in this endeavour. Blue birds, robins, and gold finches have been shadowing me while singing their bird songs.
Taking care of young vegetables
Recently it has been rather hot with little rain. I decided that a burlap cover to protect my transplants from the stifling sun was needed. Burlap has many uses- like to protect a young evergreen in the winter or to keep your new plants cool in the summer.
Burlap provides a simple and inexpensive solution for shading delicate plants from large amounts of sun exposure. It also helps to retain moisture which will assist your plants to stay hydrated while you are away for the weekend. Before you leave for the cottage or other adventures, be sure to water your plants thoroughly. Heavy yet infrequent watering helps to grow plant roots deep into the ground which makes them more drought resistant.
Transplanting leafy greens properly
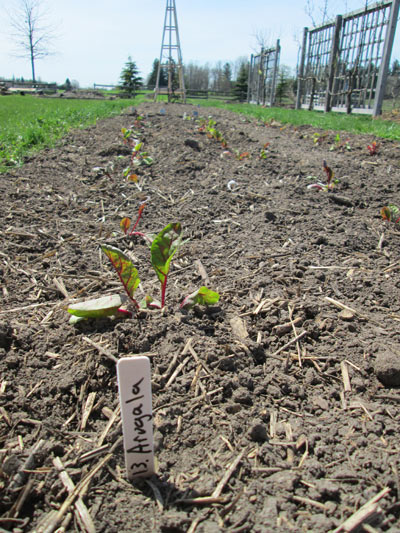
The proper method of transplanting different vegetables will vary. The first vegetable that I planted was my Arugula and Swiss-Chard leaf lettuce. Take young transplants out to the garden, along with your string guide, hard/garden rake, and gardening gloves. Spread at least 10 cm of rich soil- the best soil comes from mushroom farms that were fertilized with horse and cattle manure. By the time you receive the mushroom compost, it will have cured for 2 years- great for growing anything! Once the compost is evenly spread on the planting bed, it is time to prepare your furrow.
For three even rows of veggies, keep your string guide as straight as possible. Just below your string guide, lightly dig a small furrow to guide you and keep the placement of your leafy greens in line. Next, dig your fingers deep into the transplant tray near the roots of the transplants. When you pick a few up, your fingertips should scrape the bottom of your tray- keep as much root as possible! Gently untangle the roots and separate each individual plant. Make a hole with your finger that is deep enough to accommodate the root of the transplant. Lightly push the base of the plant along with its roots into the ground and then hold up the leaves with your fingertips. Replace surrounding soil and pat down after each layer of soil is replaced. Each transplant needs room to grow and they should be at least 15 cm apart from one another. Water them as suggested above and keep a loving eye on their progress.