Our Favourite 7 Veggies to Grow at Home
Our Favourite 7 Veggies to Grow at Home
By Mark and Ben Cullen
https://www.instagram.com/markcullengardening/
https://www.facebook.com/MarkCullenGardening/
Our vegetable gardens are loaded with fresh produce for many months each season. The satisfaction of pulling a fresh carrot from the ground, cleaning it off on a pant leg or rubbing it over the grass in an effort to remove the fresh dirt, munching down on it and tasting the sweetness that is unique to fresh carrots – this is divine.
Our list of favourite vegetables includes some obvious choices, but our reasons for choosing them is not always so obvious. Here they are:
1. Tomatoes
Our recipe for the best possible tomato crop:
- Size matters: if you’re buying your plants from a garden retailer, buy the shorter ones. The stockier the better and look for dark green foliage. Spindly tomatoes have been in the pot for too long, reaching for light. These will grow up to be weak plants that flop easily onto the ground.
- Prepare the soil: dig a hole, about 3 shovels full. Fill the hole with triple mix or vegetable soil and add 10% worm castings by volume, or 20% compost. Mix thoroughly.
- Plant: deeply. Bury the plant up to the second set of real leaves. Push the soil firmly around the main stem to ensure good contact between the soil and the plant. The stem at the bottom of the plant, which is now submerged in soil, will develop roots that will help to anchor it.
- Water preferably with a compost-tea solution: this works well if you have a composter and a rain barrel. Simply take an old pillowcase and half fill it with compost. Drop it into your rain barrel and leave it there for 24-48 hours. The water will be infused with nutrients from the compost. Another option is to create a solution using your favourite tomato fertilizer, following the directions on the box.
- Water deeply: in the morning, and at the soil level. Wet leaves are very susceptible to blight.
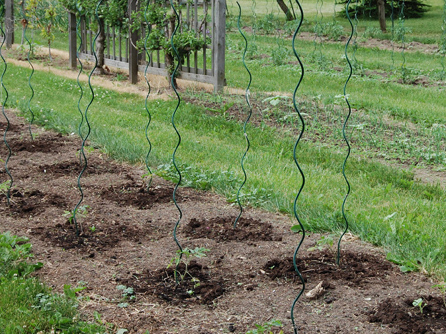
- Stake: getting your tomatoes off the ground will double your crop. It is best to do this in mid-June using a spiral stake. Staking your tomatoes helps to increase air circulation, preventing damp leaves from causing fungal issues.
- Fertilize: tomatoes are heavy feeders. Throughout the season, you will need to fertilize them either with the compost-tea water or a tomato fertilizer.
- Bordo mixture: to be used as a blight prevention tactic. Bordo is a natural product, with copper as an active ingredient. This is important! Start applications early in the summer and repeat every 10 days to 2 weeks to avoid blight in August.
- Harvest often. The more often that you pick your ripe tomatoes the more tomatoes the plant will produce. True for all ‘fruiting’ plants including beans. Words to live by.
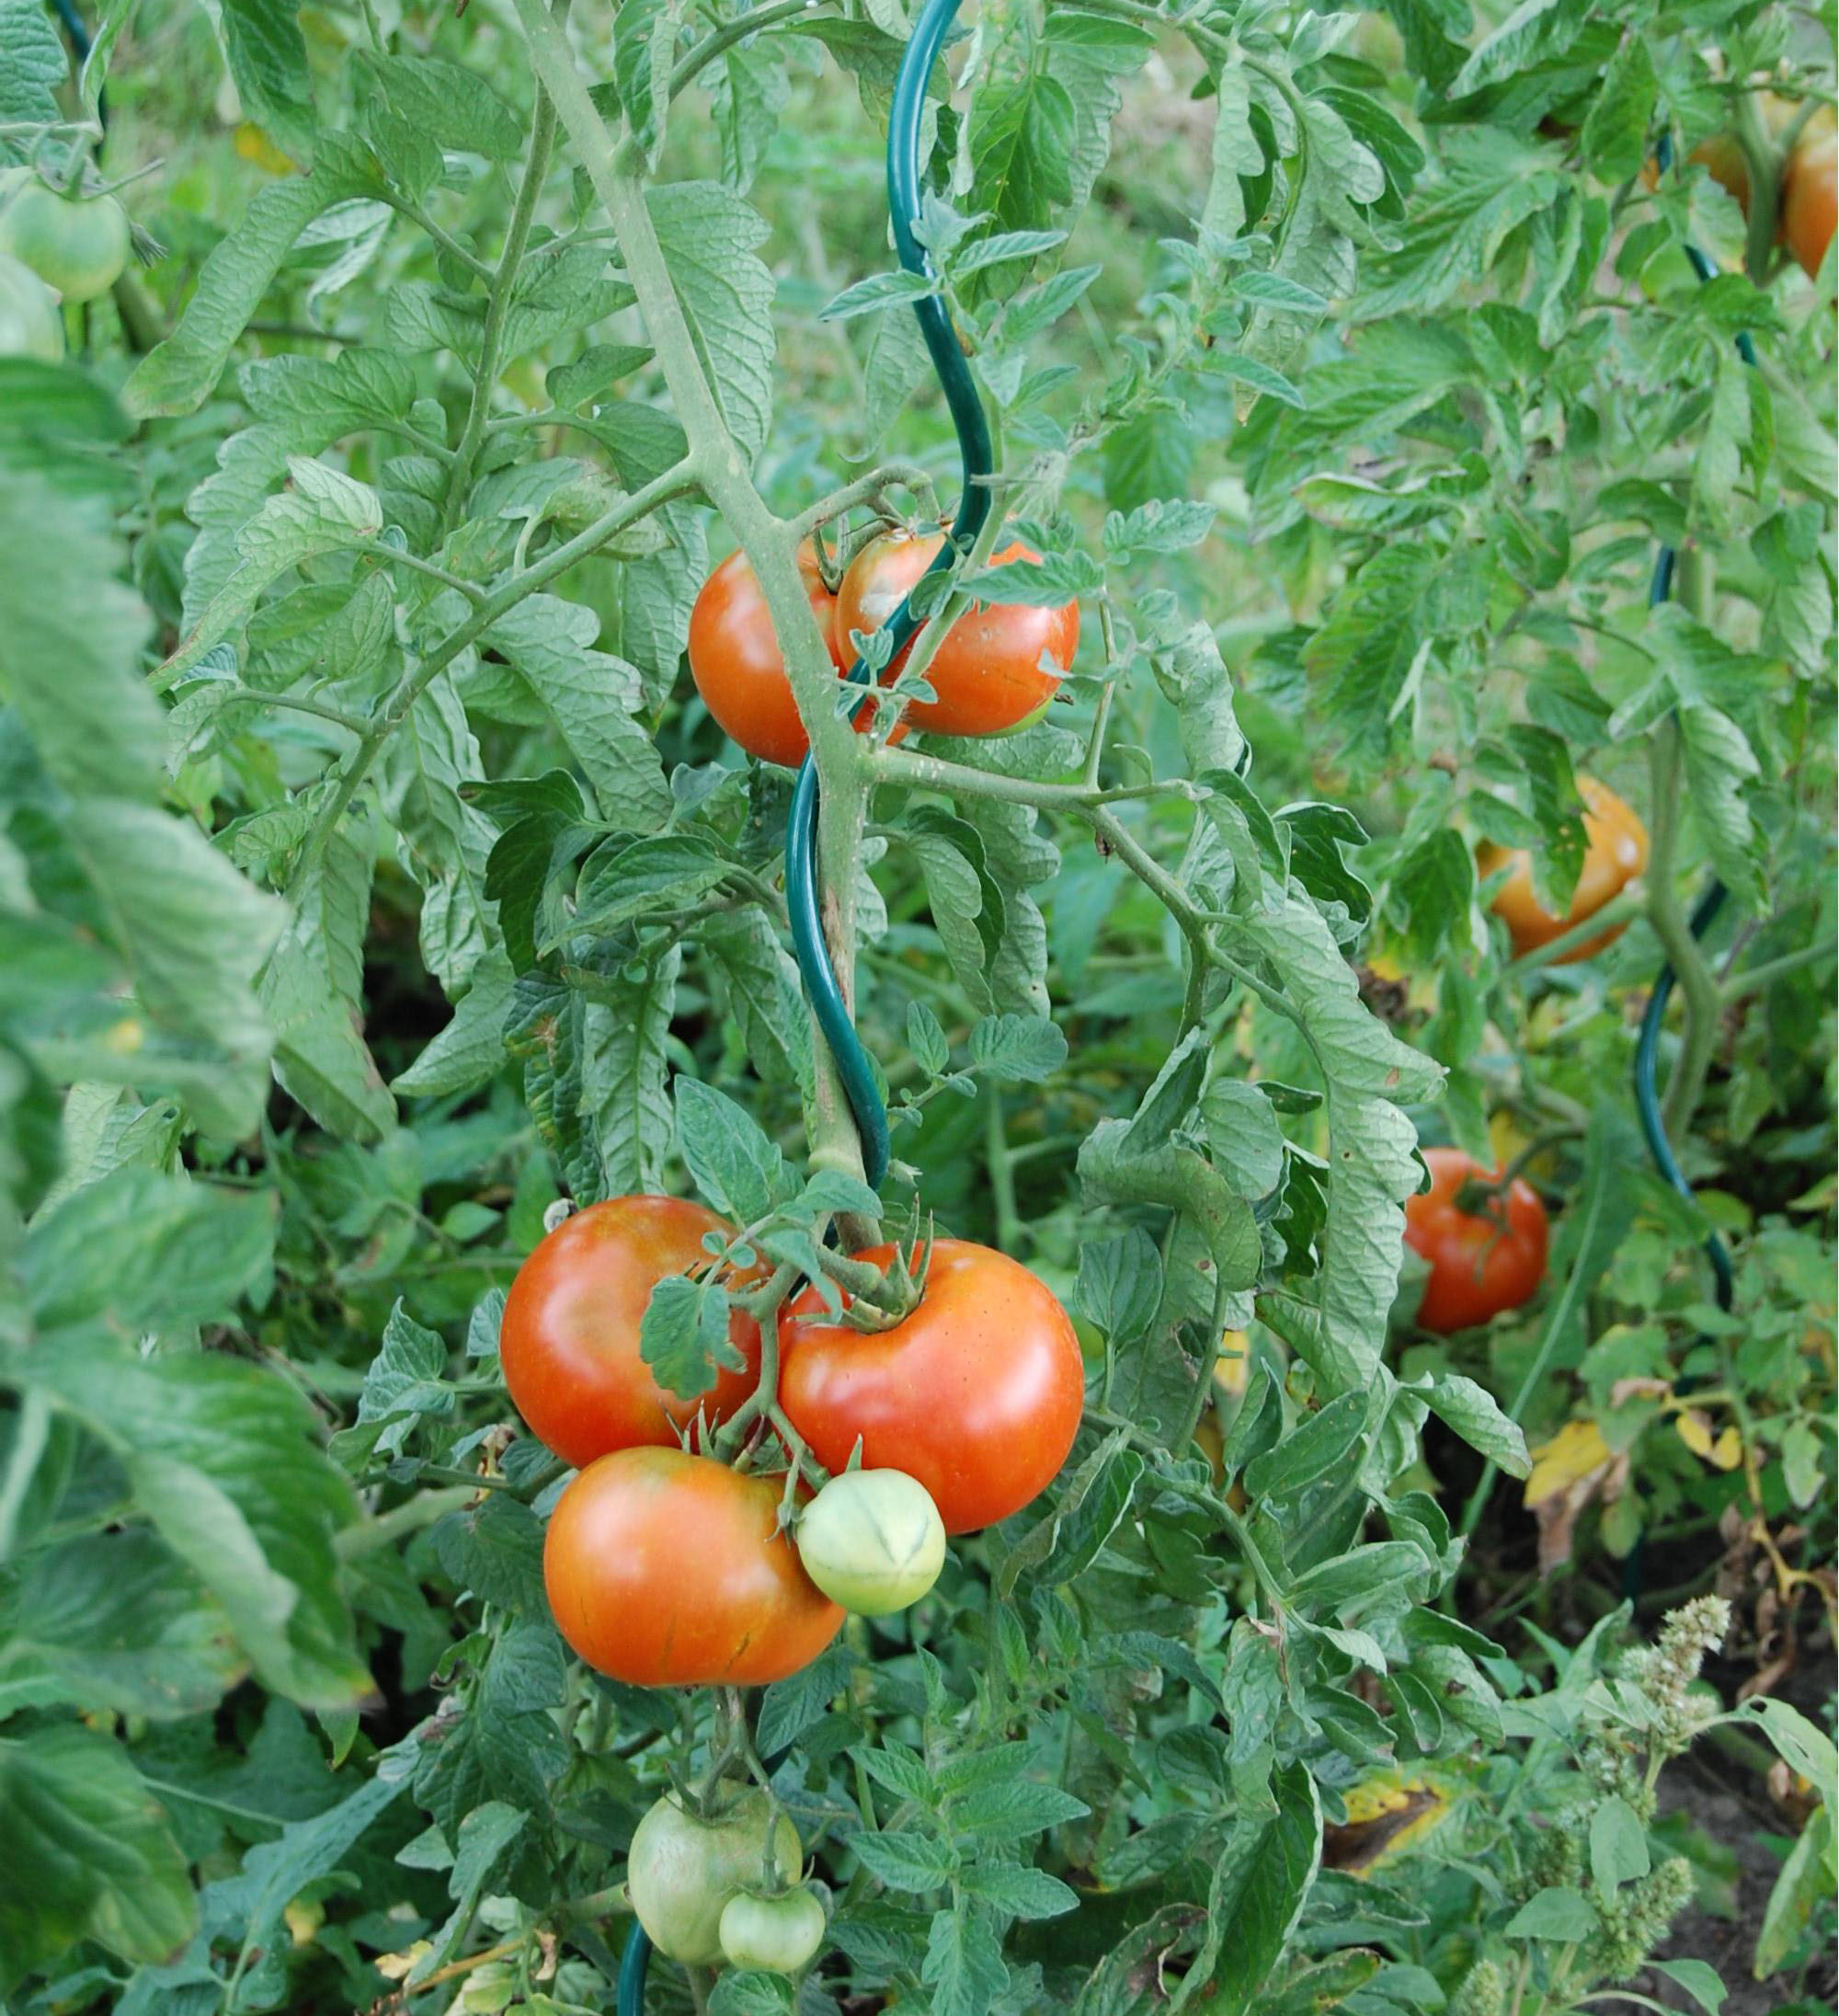 Mark grows 200 tomato plants each year in his 10-acre garden and about 20 different varieties, changing the mix every year. He usually picks his first tomato about the third week of July. Favourite tomatoes: Bonnie Best [big!], Sweet One Million [small, cherry type] Brandywine [Heritage] and San Marzano [paste/cooking]. Tomatoes grow well in containers but need lots of space: at least the size of a half barrel per plant.
2. Peppers
#1 for containers. There is enormous interest in cooking with peppers, so by extension the interest in growing them is also growing. Keep in mind that peppers are members of the same family as tomatoes (Solanaceae family, meaning ‘sun loving’). They love heat, whether it is a hot pepper you wish to grow or not.
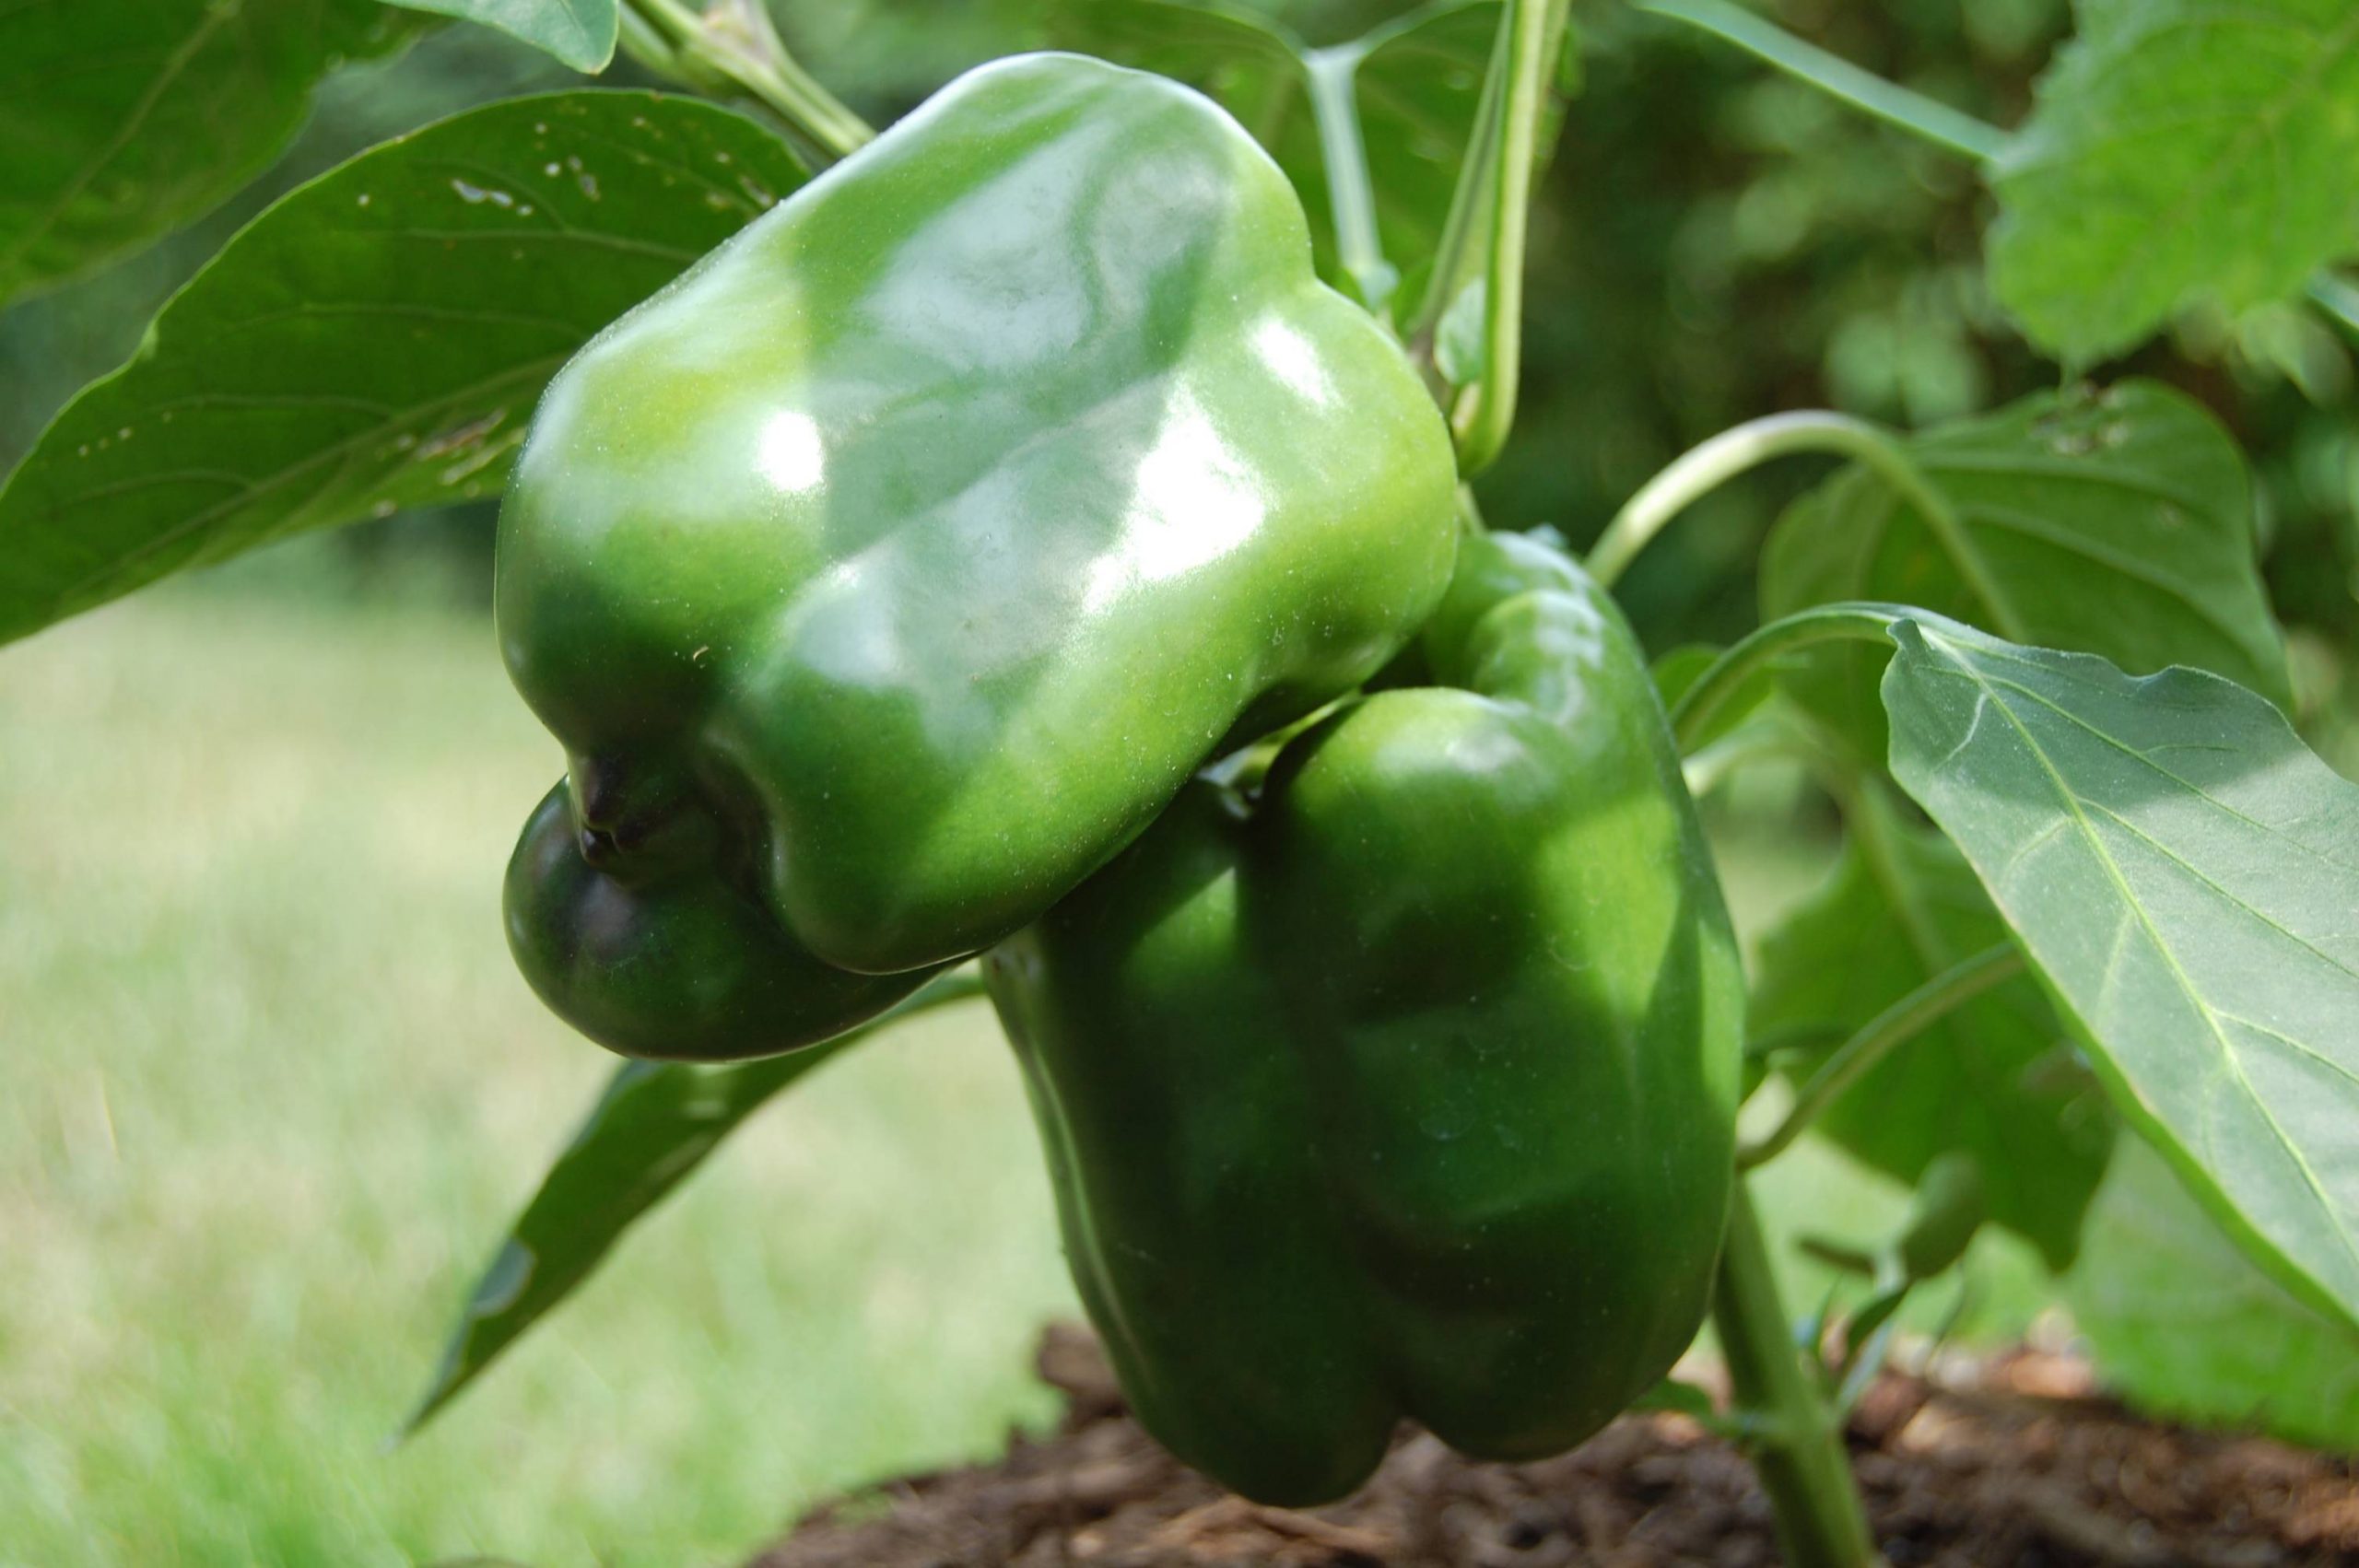 Grow peppers as you would tomatoes: you can follow our recipe above for details. Space the plant 60 cm apart, there is no need to stake them or apply Bordo as they are not susceptible to blight, as tomatoes are.
Peppers ripen more slowly than tomatoes but when they do start to produce, they keep on going until frost. We usually pick our first pepper in early August. Favourite variety: California Wonder
If you’re starting your peppers from seed, you still have time but be patient – generally pepper seeds take a little while longer than tomatoes to germinate. You will still have viable transplants in time for the season.
3. Beans
There is much to say in support of growing beans. Beans direct-sow very easily which is great if you find yourself with extra space after the transplants have been planted. Snap beans are easy to grow in small gardens as they ‘bush up’ into compact plants that produce a generous quantity of beans for the table. One plant will ‘crop’ for up to 2 weeks. Sow successive crops, one every 10 days to 2 weeks, beginning as soon as the soil is nice and warm (about 18oC) until late July. That is, assuming you have the space available.
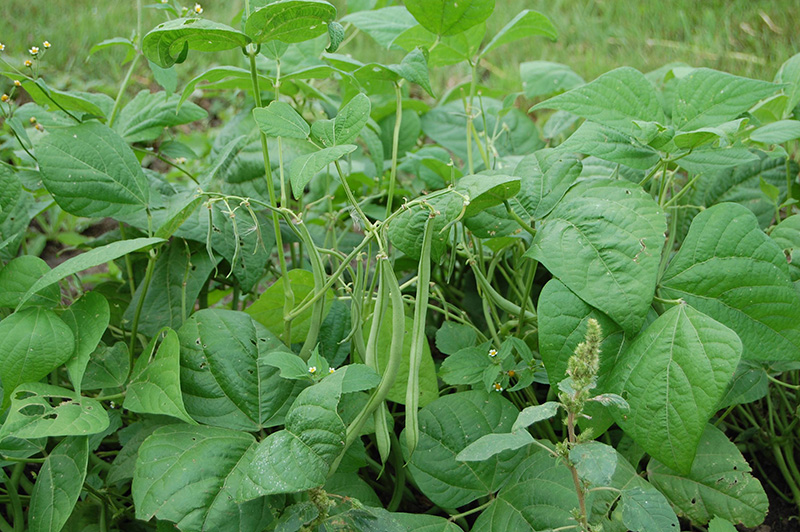 Runner beans are great for creating vertical interest in the garden. Grow a bamboo teepee by using the structure as support for your runner beans and even if you don’t like the beans themselves (we are not fond of eating them…) kids really enjoy using the structure for play. The red flowers of runner beans are attractive, to boot. Favourite snap beans: Prevail green, Dusky green, Slender wax yellow and Gold Rush yellow.
4. Carrots
Remember the carrot that we cleaned by rubbing it on our pant leg before we ate it, while standing in the garden, leaning on the hoe? Hold that thought while we ask you, “Why would you not grow carrots?” They are easy to grow, take up little space in the garden and generally demand one very important thing: a deep, loose, well-drained soil (and sun, of course).
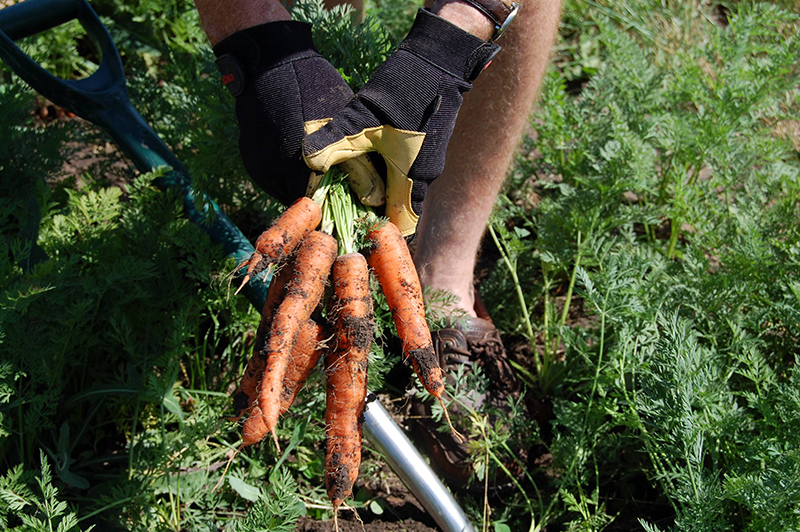 Make sure that you add generous quantities of sand to your soil before planting: at least 50 cm deep. Otherwise your carrots will bend and split and end up looking like they belong in the circus.
When you sow carrot seeds be sure to mix them into a small container of dry sand, they are easier to spread evenly that way. Sow seeds about 3 cm apart for best performance. Favourite carrots: Bilbo hybrid and Juno hybrid [Canadian!] Not very suitable for container growing unless the container is at least 60 cm deep and well drained.
It is a good idea to thin out your carrots after germination, as there are usually clusters no matter how carefully you sowed the seed. Clustering can lead to smaller carrots and a difficult harvest.
5. Radishes and Beets
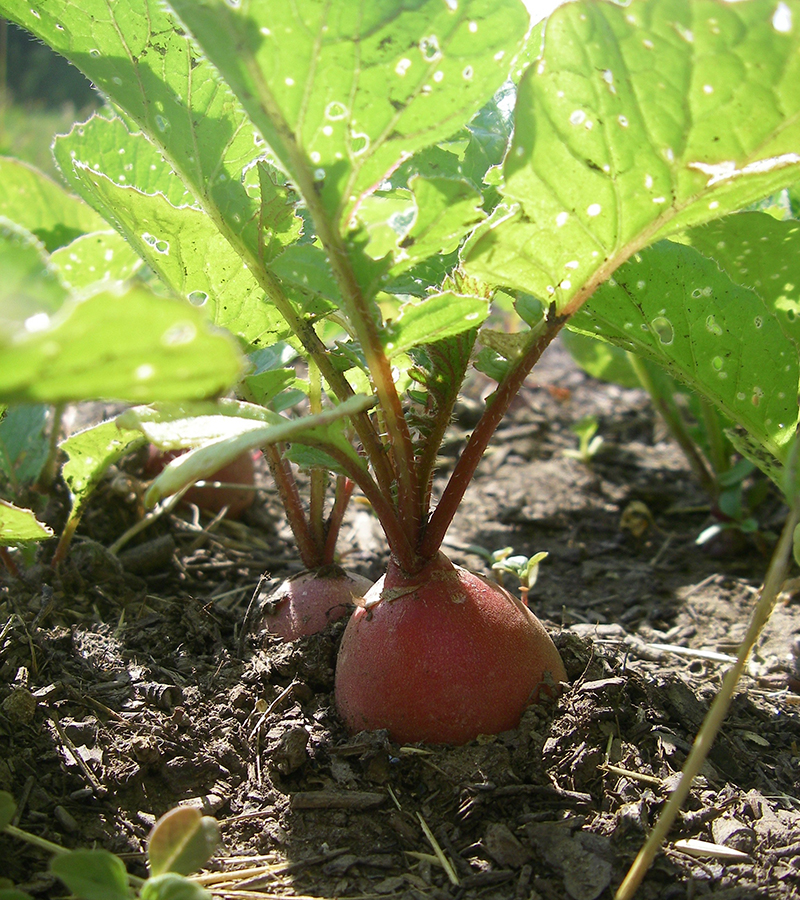
We put these two veggies in the same category as they grow so similarly. They are root crops, are easy to grow (virtually every seed that you sow will produce a plant) and they mature quickly, though none more quickly than radishes. Get the kids involved when you sow radishes as kids are generally the impatient members of the species. From sowing to harvest is seldom more than 30 days (beets 45 to 60 days). As with all root crops, make sure that the soil is well drained. Radishes and beets are best sown in successive crops about 10 days apart, beginning in late April through to late June. Favourites: Radish – Easter Egg, Beets – Kestrel hybrid
6. Pumpkins and Squash
Pumpkins and squash are great crops because they store well and can be direct sowed, harvesting late in the season after they have had time to develop size and sugars. We aren’t much for decorators, but having home-grown pumpkins to put out around Halloween is fun and made better when those pumpkins are turned into pie come November (after the Halloween candy is gone, of course).
While you probably don’t think of these crops as climbers, it is helpful to have short structures for them to climb in the garden to get the leaves off of the ground and minimize the threat of fungal disease by promoting airflow.
Waltham Butternut is a sweet, reliable squash that stores well, and Spaghetti Squash is a fun one if there’s anyone in your family avoiding carbs – simply scrape out the interior of the squash and blanche for a healthy pasta alternative. “Small Sugar” is a compact pumpkin that packs a punch for sweet, late season pies.
7. Potatoes
Cullen – it’s an Irish name. You can probably figure how we feel about potatoes, we love them.
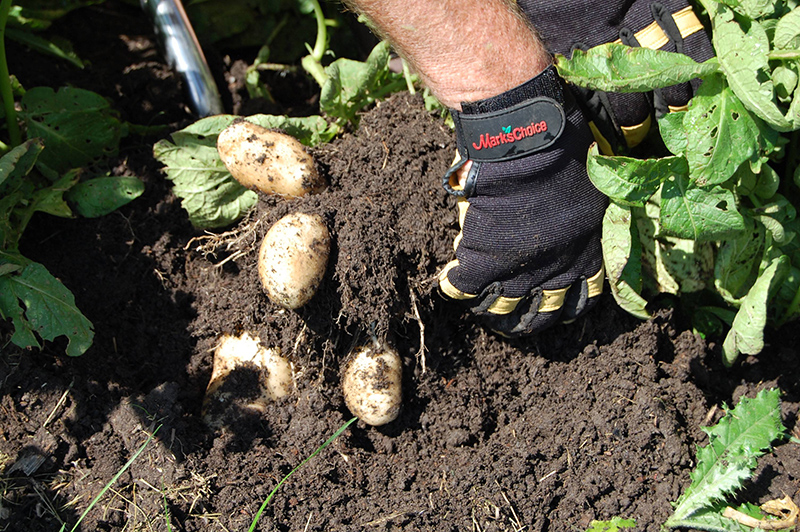 You can order seed potato that is treated with fungicide to prevent rot and pretty much guarantee a successful crop, of you can go with the potatoes you bought at the grocery store that are at this point sprouting under the kitchen sink. We find organic potatoes from the grocery store are more likely to sprout, likely because most conventional potato crops are treated with chlorpropham which is a herbicide to prevent sprouting before they get to the store.
Potatoes are one crop that works really well in containers, despite the fact very few people do. We like growing potatoes in containers because they are heat-loving plants, which is easy to provide with a container, and the harvest is a cinch – simply dump out the container. No more potatoes sliced to pieces by the spade.
Cut your seed potatoes so there are two or three ‘eyes’ or sprouts on each part, and space them 12-14 inches apart and 10-12 inches deep. You can space them as close as six to eight inches if you are looking for a smaller sized potato.
Within two weeks you will have sprouts poking out above the ground. As they are growing, hill soil up around them without completely covering or depriving the plant of sunlight. It is the underground plant mass, of course, where the tubers (potatoes) will form. For containers, simply add more soil to the container as the plant grows upwards.
Potatoes are heavy feeders, so if you have access to worm castings or compost this is a great place to apply it.
Expect at some point that the Colorado Potato Beetle will find your crop. Daily inspections and a floating row cover are your two best non-chemical options and avoid planting potatoes in the same spot year over year can minimize pressures from beetles and scabbing (a fungal issue).
Watering Tips
When watering veggies, be sure to let the surface of the soil dry out about 2 cm deep between applications. This is important as NO plant enjoys constant moisture (other than moss) and when water evaporates from the top layer of soil it is replaced with fresh air (oxygen!) that helps to boost your veggie plants into the next stage of growth.
We apply water to our container grown vegetables using rainwater from our rain barrels. This warm, oxygen rich water produces great crops!
Remember to have fun. Whatever your reason for wanting to grow veggies in the first place (save money, control the quality of your food or the convenience of picking fresh produce from your own yard) this is supposed to be an enjoyable experience.


